Attic insulation is a crucial part of your home’s energy system because it helps keep your house warm in winter and cool in summer. Adding proper insulation to your attic can cut your energy costs by up to 15%, which is seriously impressive if you’re looking to save some cash.
You might not think about your attic often, but it plays a huge role in your home’s comfort. Without good insulation, heat escapes through your roof in cold months, and in hot weather, it lets warmth seep into your living spaces, causing an uncomfortably hot home.
Simply improving your attic insulation is a smart and easy way to boost your home’s energy efficiency. It’s a project that can pay off quickly with lower utility bills, and it makes your home more comfortable year-round.
Understanding Attic Insulation
Your attic insulation helps keep your home comfortable and energy-efficient, but it comes in different types and has specific measurements for effectiveness. You should get to know these different types in order to make the best choice for your home.
Types of Insulation
Fiberglass is one of the most common attic insulation choices. It comes in batts or rolls that fit between joists, but you can also get loose-fill fiberglass that’s blown into place.
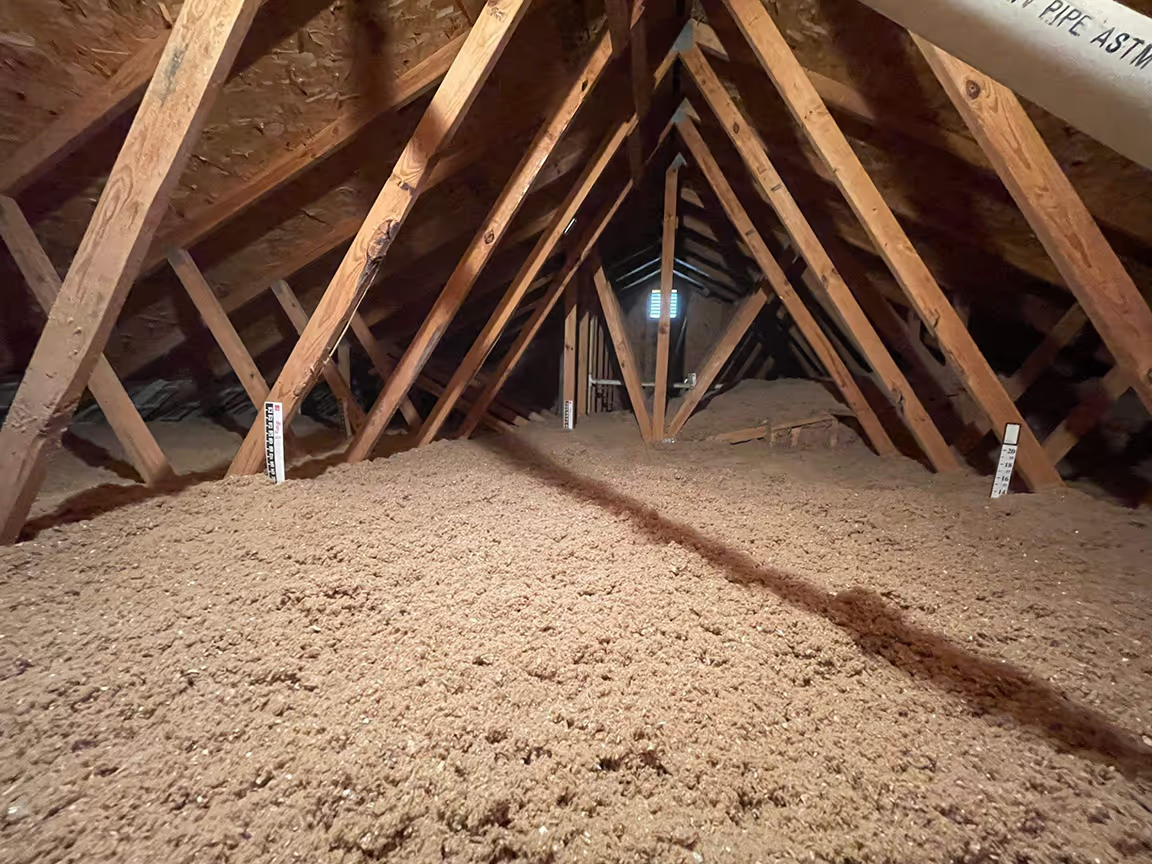
There is also cellulose insulation, which is made from recycled paper products. It’s often blown into attics as loose-fill, and this type is good for filling small spaces.
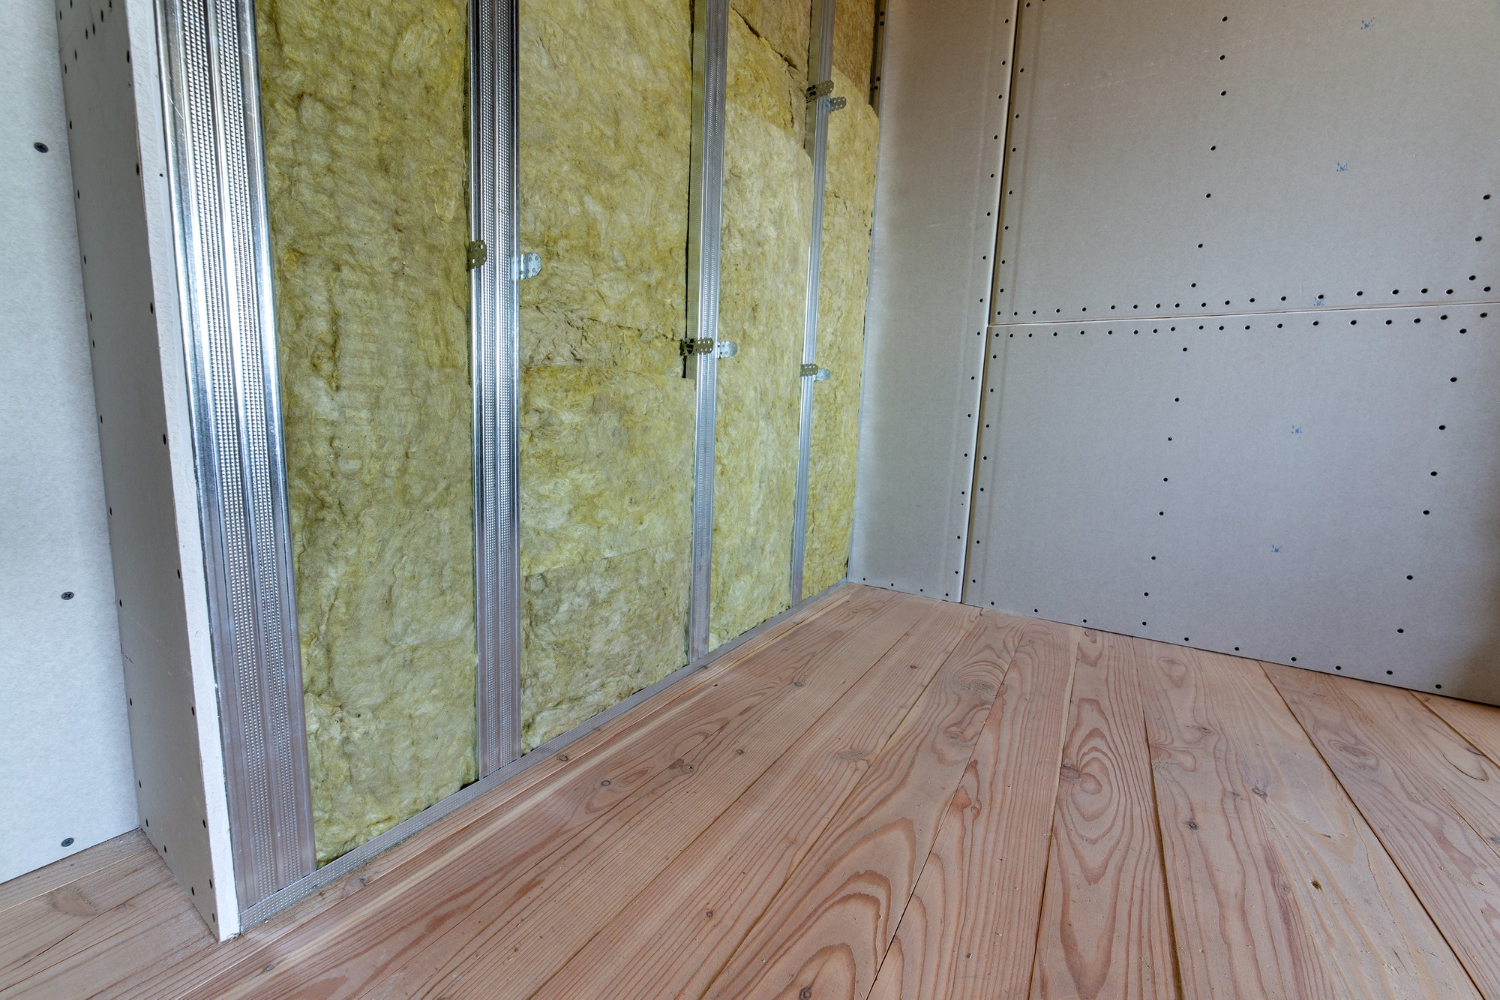
You might also choose mineral wool, also called rock wool, which resists fire well. It can be installed as batts or blown in and is a great safe option for keeping your home cozy.
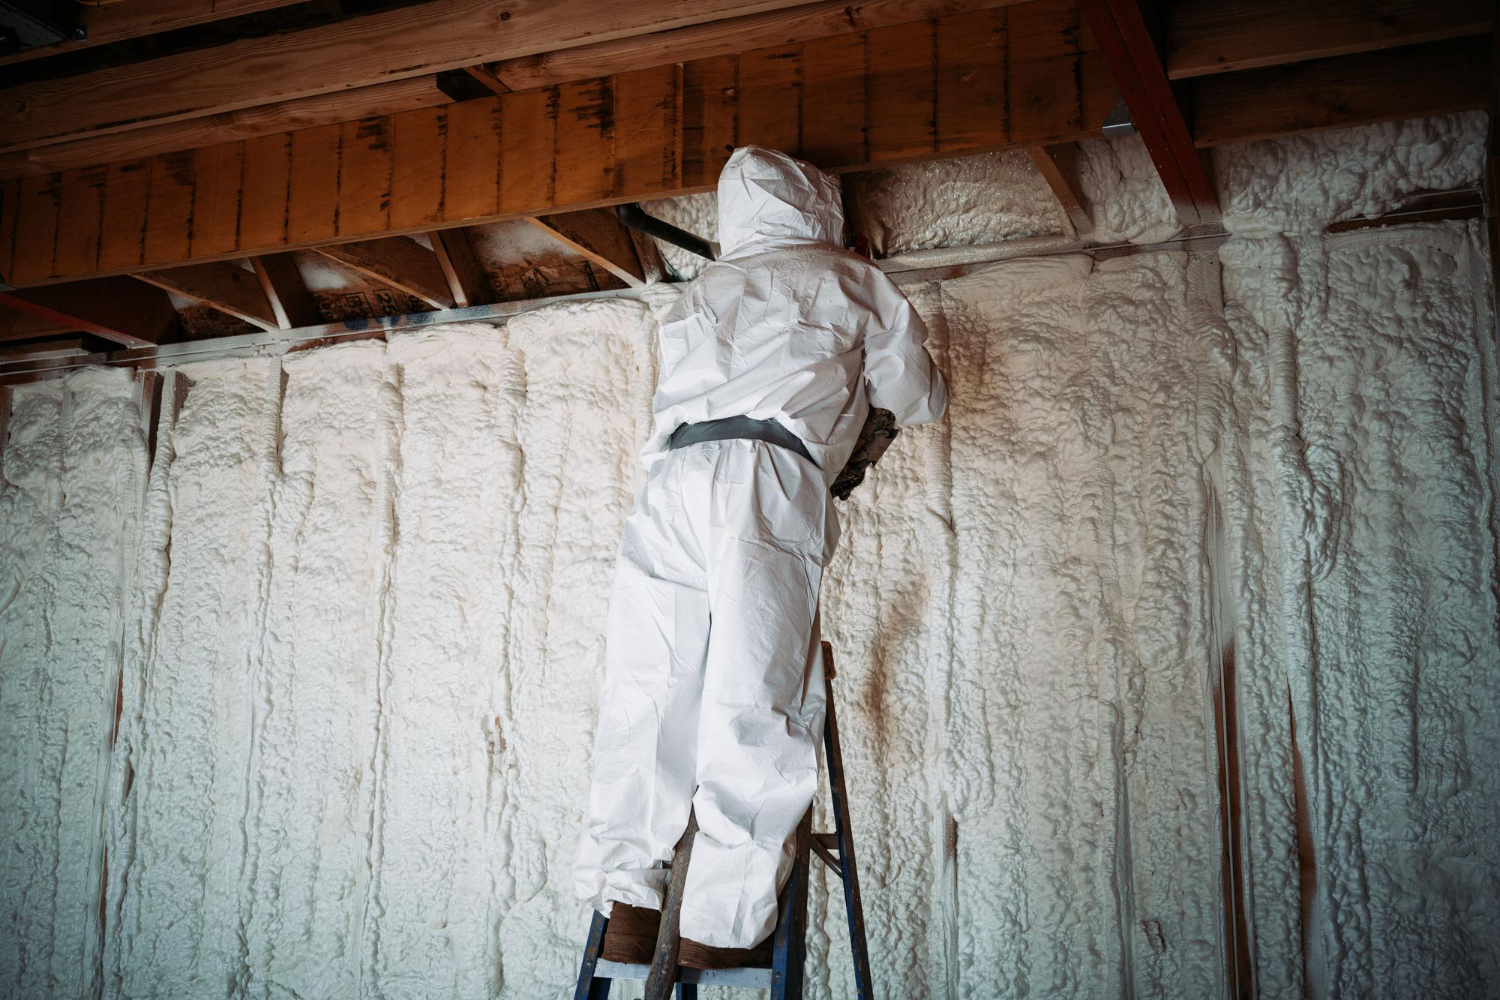
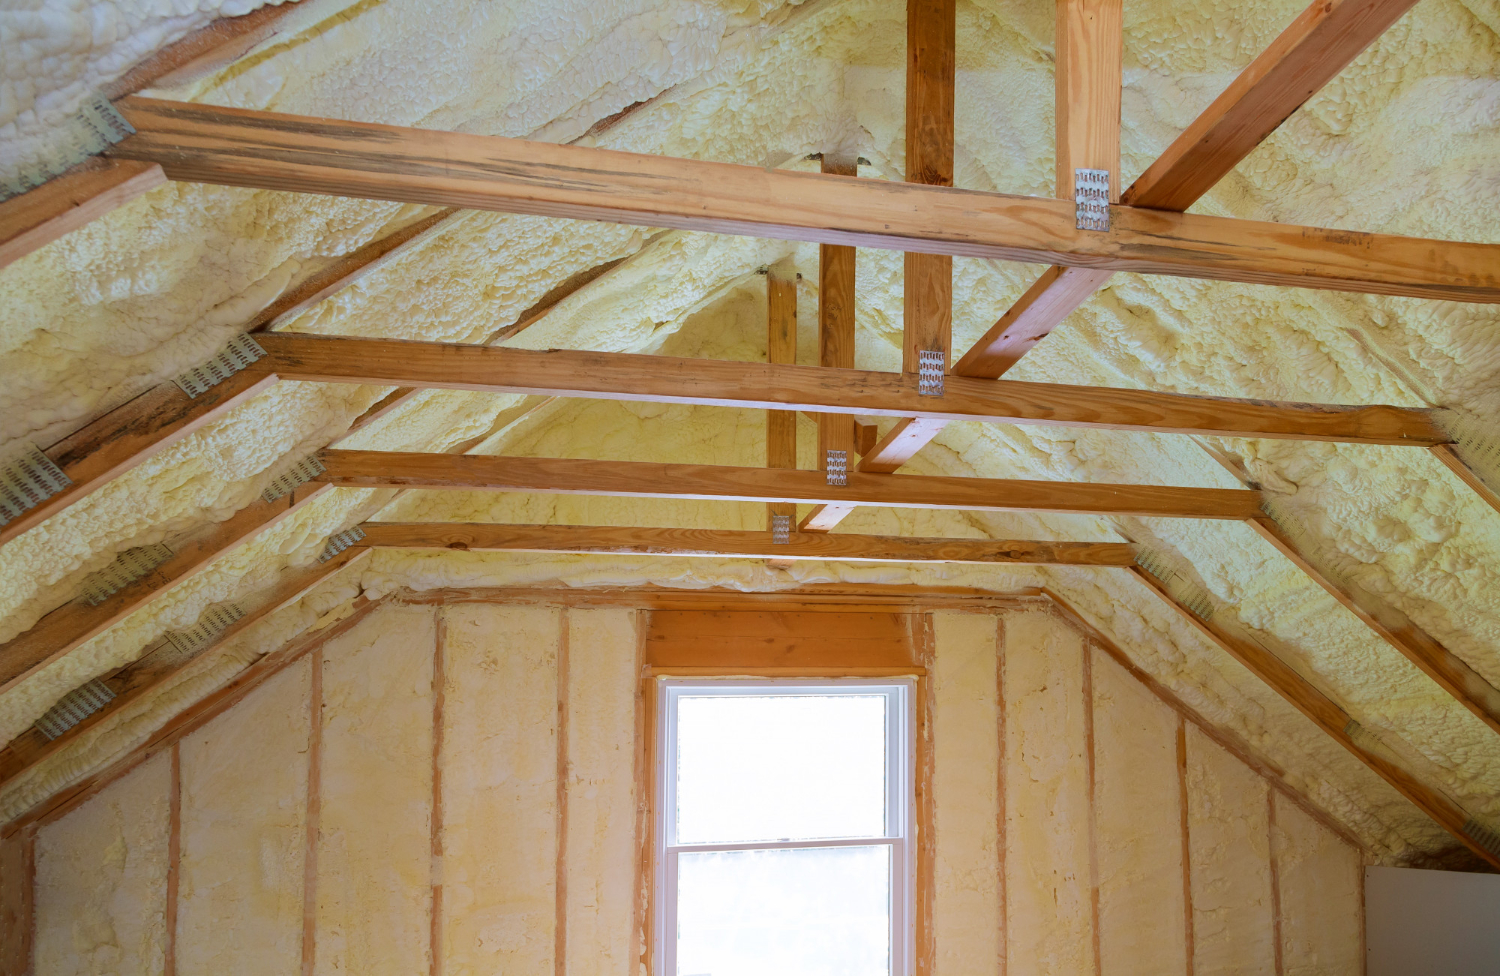
You can even get spray foam insulation that expands to fill gaps. It creates an air barrier, making this seriously effective insulation, but it costs more than the other types of insulation.
Importance of R-Values
You should understand R-values before you choose your insulation. The R-value measures how well insulation resists heat flow, and higher R-values mean better insulation.
Your attic’s needed R-value depends on your climate; for example, colder areas require higher R-values.
You can add R-value by increasing insulation thickness; however, different materials have different R-values per inch.
Loose-fill and blown-in insulations often have R-values listed per inch of depth, as this helps you calculate how much you need.
Always check local building codes for minimum R-value requirements in your area. Meeting or exceeding these standards can improve your home’s energy efficiency dramatically, making your home more comfortable and saving you money.
Installation Techniques
You need to have your attic insulation properly installed for the best results when it comes to energy efficiency and comfort. Different methods suit various attic types and homeowner needs, so research them before organizing anything.
Prepping the Attic
Before adding insulation, you need to get your attic ready for installation. Start off by checking for leaks and sealing them. Then, identify and fix any roof issues while looking for gaps around pipes, vents, and ducts. If you notice any gaps you can seal these spots with caulk or foam.
Make sure your attic has good airflow, and install vents if needed. This stops moisture build-up and decreases the chances of mold developing. Always cover any bare wood with fire-resistant material for safety.
You should also clear out old insulation if it’s damp or moldy. Then, you can lay down a vapor barrier if you don’t have one since this plastic sheet stops moisture from rising into the attic.
Installing Batt and Roll Insulation
Batts and rolls are some of the most common insulation types. They come in pre-cut pieces ready to be rolled out into your attic. You can use fiberglass or other materials in this form for quick and easy installation.
Start at the outer edges of your attic and work your way in. You can cut batts to fit around joists and vents; just don’t squish the insulation since this lowers its power to insulate.
You must always wear gloves and a mask when handling fiberglass since it can irritate your skin and lungs. Also, make sure that the insulation doesn’t block soffit vents. These vents help airflow in your attic, regulating the temperature and preventing mold from forming.
Application of Loose-Fill and Blown-In Insulation
You might find your match with loose-fill insulation, especially since it is perfect for odd-shaped attics. It’s often made of cellulose or fiberglass, and you blow it in with a special machine.
It’s easy to rent a blower from a hardware store, or you can hire a pro to do it for you. They have better tools and know-how, which makes it a more professional job. Start in the farthest corners and work backward so you avoid trapping yourself into a corner. You should fill to the right depth for your climate.
Always be careful around lights and vents, and try to keep insulation away from these spots. It’s also incredibly important that you wear a mask and goggles because the tiny bits can float in the air. You can seal off your attic door when you’re done, which stops drafts and keeps your home cozy.
Optimizing Energy Efficiency
If you’re serious about increasing your home’s energy efficiency, then proper attic insulation and ventilation are the best places to start. These elements really work in combination with each other to regulate temperature and reduce your energy costs.
Addressing Air Leaks and Ventilation
Let’s start by sealing air leaks in your attic. You can check for gaps around pipes, ducts, and chimneys and easily use caulking or weatherstripping to close these openings. This stops warm air from escaping in winter and hot air from entering in summer, keeping your home at a consistent and comfortable temperature.
Next, focus on attic ventilation. Aim for a good airflow, as this helps control moisture and temperature. You can do this by installing vents in your roof or gables because this lets hot air escape in summer and prevents ice dams in winter.
Don’t forget about your ducts! Remember to seal and insulate them to improve your HVAC system’s performance. This small step can boost heating and cooling efficiency by up to 20%, saving you a lot of money on your energy bills and keeping your home far more comfortable!
Insulation and Temperature Regulation
Firstly, you must choose the right insulation for your attic. The U.S. Department of Energy suggests R-38 to R-49 levels for most climates, and remember, higher R-values mean better insulation.
Lay insulation evenly across your attic floor, and don’t compress it, as this reduces its effectiveness. Cover all areas, including corners and edges, and make sure no space is forgotten.
You can also consider adding a radiant barrier in hot climates. This extra barrier reflects heat away from your living space, and it works with your insulation to keep your home cooler in summer.
Look for Energy Star-certified products because these meet strict energy efficiency guidelines. They can even help you save money on energy bills all year-round.
Safety and Compliance
One of the biggest rules to follow when installing attic insulation is the proper safety measures and code compliance. These steps are specifically designed to protect you and also to make sure that your home meets all the legal requirements.
Adhering to Building Codes
Building codes have set rules for attic insulation, which you must absolutely follow. Start off by checking with your local government for specific requirements, especially as most areas need permits for insulation work. The U.S. Department of Energy offers guidelines on proper insulation levels for different climates, so be sure to check them out, too.
Codes often cover vapor barriers and fire safety, meaning that you may need to install a polyethylene vapor barrier to control moisture. Keep insulation away from recessed lights to prevent fire hazards, as well as for added safety measures.
It’s important to make sure your insulation meets the required R-value for your area. R-value measures how well insulation resists heat flow, and a higher R-values mean better insulation, so your area’s R-value will be related to your local climate.
Personal Safety During Installation
Of course, your safety is key when installing attic insulation. You should always wear protective gear to avoid health risks and even put on a respirator to prevent breathing in harmful particles. Use eye protection to shield your eyes from dust and debris, as getting any kind of insulation in your eyes can be really nasty.
Wear gloves to protect your hands from irritation, as well as long sleeves and pants to help prevent skin contact with insulation fibers. You can use knee pads if you’re kneeling on hard surfaces to relieve any pressure from extended kneeling.
Always check for any moldy areas before starting. If you find mold, address it before adding insulation, as covering it up will not solve the issue. It’s sensible to work in a well-ventilated space to reduce exposure to dust and fumes.