You’d be surprised at how attic insulation plays such a key role in keeping your home comfortable and energy-efficient. The right type of attic insulation can make a big difference in your energy bills and indoor comfort, so it’s well worth the investment.
Many find that fiberglass batts are often the best choice for attic insulation due to their affordability, ease of installation, and effectiveness. They come in pre-cut panels that fit between standard roof joists and are super easy to install. Blown-in cellulose is another good option, especially for older homes or oddly shaped attics, so it’s definitely worth investigating.
Both types offer good R-values, which measure insulation effectiveness. Fiberglass typically has an R-value of 2.2 to 2.7 per inch, while cellulose ranges from 3.2 to 3.8 per inch. Your climate and attic structure will help determine which option is best for your home with many local professionals helping you to meet local guidelines and regulations.
Understanding Insulation Materials
The right kind of insulation materials play a large role in keeping your attic and home comfortable. Of course, the many different options have unique properties that affect their performance and suitability so it’s important to find the right type for your home.
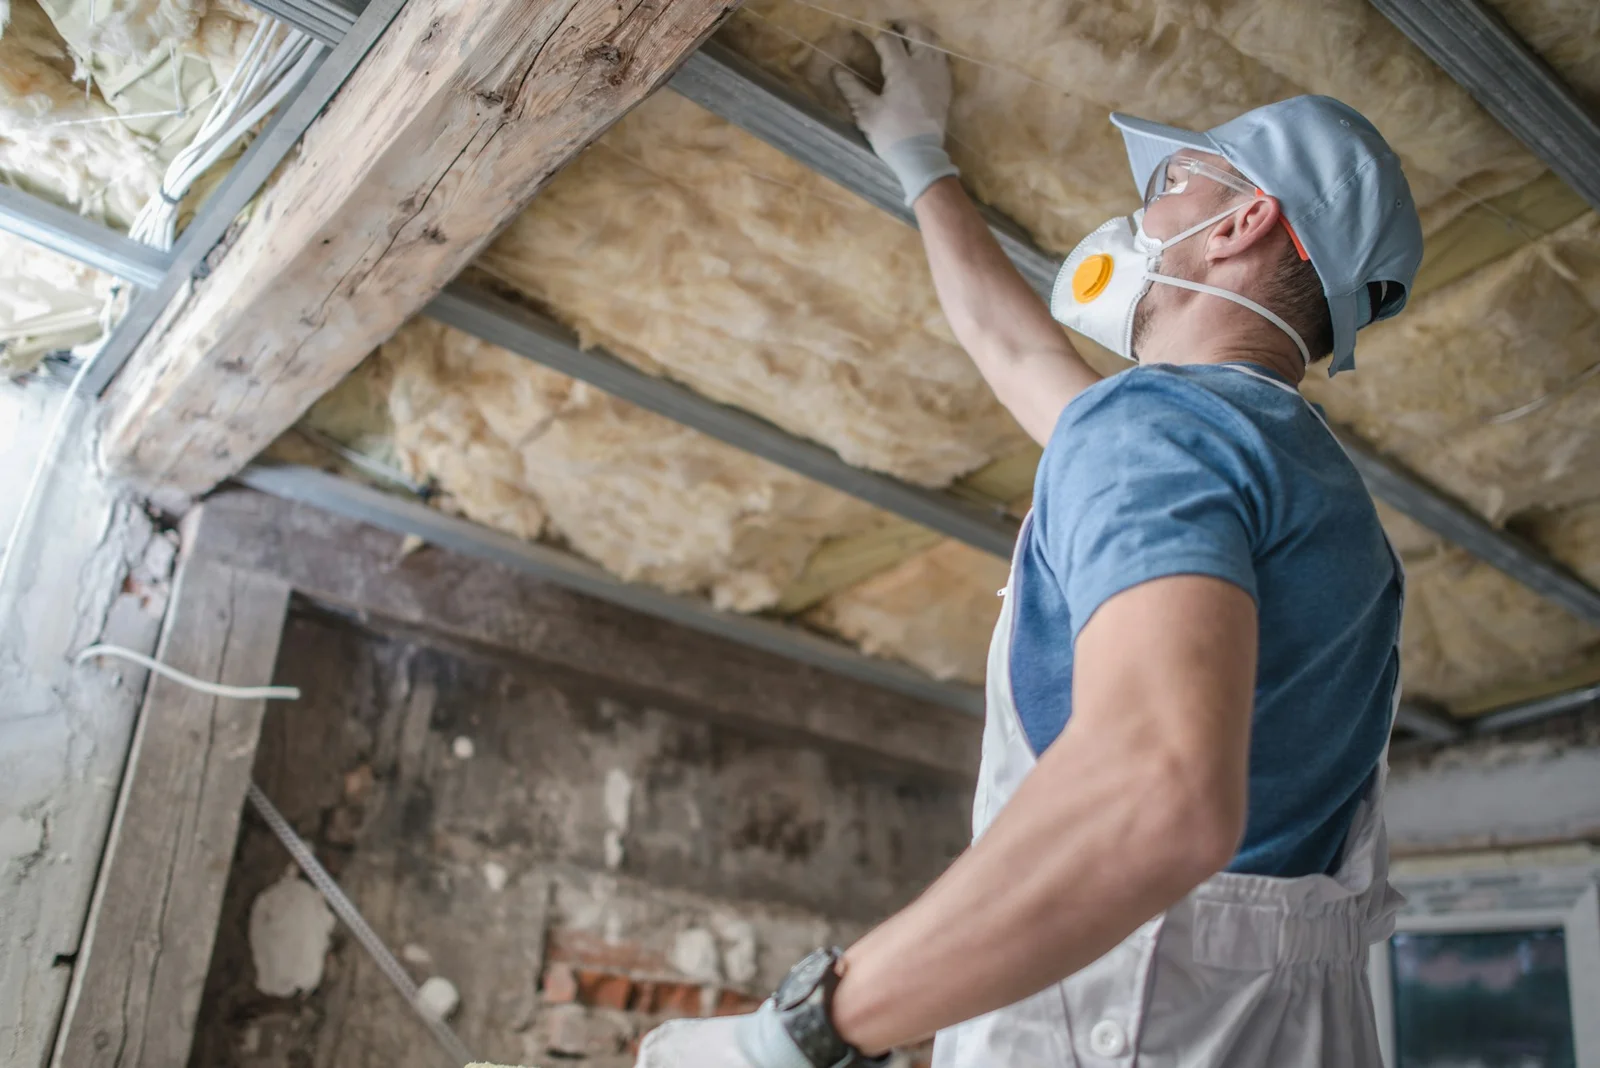
Fiberglass Insulation
Fiberglass is a popular and cost-effective insulation choice, especially since it comes in batts or loose-fill forms. Batts fit between wall studs and attic joists, whereas loose-fill works well for oddly shaped spaces or old houses.
The good thing about fiberglass is that it resists moisture and won’t settle over time. It has an R-value of 2.2 to 2.7 per inch, and you can install it yourself but always wear protective gear to avoid skin irritation.
Pros of fiberglass:
- Affordable
- Fire-resistant
- Doesn’t shrink or settle
Cons of fiberglass:
- It can irritate the skin and lungs
- Loses efficiency if it gets wet
Cellulose Insulation
Another popular choice is cellulose insulation, which is made from recycled paper products. It’s treated with fire retardants for safety. This eco-friendly option is usually blown in as loose-fill, so it works well with smaller spaces.
Cellulose has an R-value of 3.2 to 3.8 per inch. It fills gaps well and can be added on top of existing insulation however, you’ll need special equipment to install it properly.
Benefits of cellulose:
- Eco-friendly
- Good sound insulation
- Pest-resistant
Drawbacks:
- Can settle over time
- May absorb moisture
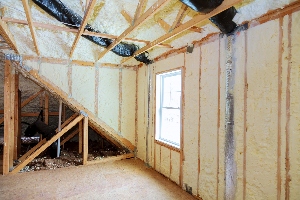
Foam Insulation
You’ve probably heard of foam insulation, and it comes in two types: spray foam and rigid foam boards. Spray foam expands to fill gaps and cracks, whereas rigid foam boards are cut to fit between framing.
Spray foam has a high R-value of 3.6 to 6.5 per inch, which creates an airtight seal. Rigid foam boards have R-values of 3.6 to 6.5 per inch as well.
Advantages of foam:
- High R-value
- Creates an air barrier
- Moisture-resistant
Disadvantages of foam:
- More expensive
- Professional installation is needed for spray foam
Radiant Barriers
Radiant barriers are often forgotten about, but they’re very effective as they reflect heat rather than slow its transfer. They work best in hot climates, and these barriers are often installed in attics to reduce heat gain.
You should be aware that radiant barriers don’t have an R-value because they’re measured by their ability to reflect heat. Most reflect 90% or more of radiant heat though so if they could have an R-value it would be very high!
Pros of radiant barriers:
- Effective in hot climates
- Lightweight
- Can be DIY installed
Cons of radiant barriers:
- Less effective in cold climates
- Dust buildup can reduce the effectiveness
Cotton Insulation
The coolest thing about using cotton insulation is that it’s made from recycled denim. It’s an eco-friendly option that’s safe to handle, and the material comes in batts similar to fiberglass.
Cotton has an R-value of about 3.7 per inch, and even better, it’s treated to resist fire and pests. You can install it without special protective gear too making it a great option for DIY attic insulation.
Benefits of cotton:
- Non-toxic
- Easy to install
- Good sound insulation
Disadvantage of cotton:
- More expensive than fiberglass
- Limited availability
Types of Attic Insulation
Now, you need to know that attic insulation has several forms, each with its own pros and cons. The main types are blown-in, batt, spray foam, and rigid foam insulation, and your choice depends on factors like cost, ease of installation, and energy efficiency.
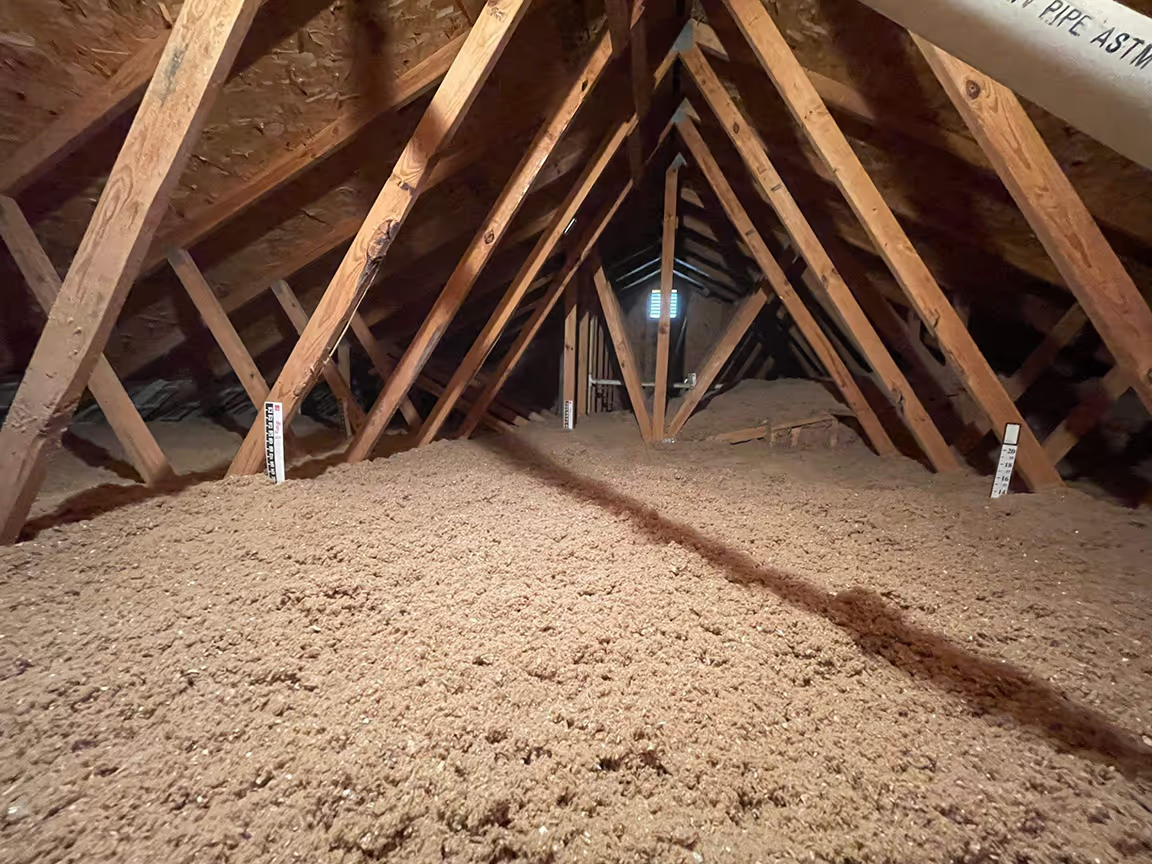
Blown-In and Loose-Fill Insulation
Blown-in insulation is a popular choice for attics. It’s made of small particles of fiber, foam, or other materials, which means you can easily install it yourself or hire a pro to blow it into your attic space.
Common materials for blown-in insulation include:
- Fiberglass
- Cellulose
- Mineral wool
This type of insulation fills gaps well and is great for oddly shaped areas, but it’s also good for adding insulation on top of existing layers to boost your attic’s R-value.
Blown-in insulation is often cheaper than other types. However, it can settle over time, which may reduce its effectiveness.
Batt and Roll Insulation
Batt and roll insulation comes in pre-cut panels or long rolls and it’s usually made of fiberglass, but you can also find it in materials like:
- Cotton
- Mineral wool
- Sheep’s wool
This type is easy to install yourself as you can cut it to fit between attic joists and rafters.
Batt insulation is cost-effective and widely available, but it doesn’t always fit perfectly in tight spaces. This can leave gaps that reduce its performance if not addressed.
Spray Foam Insulation
Spray foam insulation comes in two types: open-cell and closed-cell. You spray it as a liquid, and it expands to fill spaces, making it incredibly airtight when installed correctly.
Open-cell foam is lighter and cheaper, whereas closed-cell foam is denser and more effective but also more expensive, so not great if you’re on a tight budget.
Spray foam creates an air-tight seal, which makes it very energy-efficient. It can also add structural strength to your attic, which is excellent for older properties.
The downside is that it’s pricier than other options, and you also need special equipment to install it, so it’s not a DIY job. However, it’s definitely well worth the investment if you can afford it.
Rigid Foam Insulation
Rigid foam insulation comes in boards. It’s made from materials like:
- Polyisocyanurate
- Extruded polystyrene
- Expanded polystyrene
This type has a high R-value per inch, which means it insulates well, even in thin layers. It’s good for areas with limited space.
Rigid foam is moisture-resistant. This makes it the perfect choice for attics in damp climates where you need to keep moisture at bay.
It can be tricky to install, though as you need to cut it precisely to fit your attic space. It’s also more expensive than some other options but still a worthwhile way to improve your home!
Factors Affecting Insulation Performance
Insulation performance depends on several considerations, including the material’s ability to resist heat flow, manage moisture, and withstand fire. Let’s look at each thing to consider in a little more detail.
R-Value Explained
R-value measures how well insulation resists heat flow. Higher R-values mean better insulation, and different materials have different R-values per inch of thickness. For example, fiberglass batts typically have an R-value of 2.2 to 2.7 per inch, while spray foam can reach 6.0 to 7.0 per inch.
Climate affects the R-value you need, with colder areas requiring higher R-values. The U.S. Department of Energy provides R-value recommendations based on your location, which an attic installation expert will be happy to talk you through.
To get the right R-value, you can use thicker insulation or layer different types. Remember, doubling the thickness doubles the R-value and you can mix and match materials too.
Managing Moisture and Air Leaks
It’s important to know that moisture and air leaks can reduce insulation effectiveness. Wet insulation loses its R-value and can lead to mold growth, which can lead to serious health problems. To prevent this, you should consider using vapor barriers and ensure proper ventilation in your attic.
Air leaks allow heat to escape, bypassing your insulation, so be sure to seal gaps around pipes, vents, and electrical outlets. Use weatherstripping for attic hatches and doors to get a really airtight seal.
Of course, some insulation types, like spray foam, act as both insulation and air barriers. This can be helpful in hard-to-reach areas or oddly shaped attic spaces.
Fire Resistance in Insulation
Fire resistance is absolutely critical for attic insulation, which is why many insulation materials come with fire-retardant treatments. These slow the spread of flames if a fire occurs, giving fire detectors and smoke alarms a chance to do their job.
Mineral wool and fiberglass are naturally fire-resistant, which means that they don’t burn easily and can help contain fires. Cellulose insulation is treated with fire retardants to improve its safety while keeping your home insulated.
You must always check local building codes for fire resistance requirements, as some areas may have specific rules about insulation types or treatments.
When choosing insulation, it’s good practice to look for materials with good fire ratings. This adds an extra layer of safety to your home and gives you peace of mind.
Choosing and Installing the Best Attic Insulation
Picking the right insulation for your attic can cut energy bills and make your home comfier, so let’s look at your options, how to install them, and save money.
Evaluating Insulation Options
Fiberglass batts are common and affordable as they come in rolls that fit between attic joists. This is different from loose-fill cellulose, which is made from recycled paper, which makes it great for odd spaces and can be blown in. Spray foam insulation offers the best seal but costs more, so it’s only viable if you have a larger budget.
R-value measures how well insulation works, and higher numbers mean better insulation. For most attics, aim for R-38 to R-60, but remember that your local climate affects the R-value you need.
Here’s a quick comparison:
TypeR-value per inchProsConsFiberglass2.2-2.7Cheap, DIY-friendlyCan leave gapsCellulose3.2-3.8Eco-friendly, fills gapsSettles over timeSpray Foam3.6-6.5Best air sealExpensive, needs pro install
Installation Process and Cost
DIY installation can save money, but professionals must ensure proper coverage and no costly mistakes. For fiberglass or cellulose, you’ll need to invest in protective gear and tools. Moreover, spray foam needs special equipment and skills so it’s even more difficult to complete a DIY install.
Steps for DIY install:
- Seal air leaks
- Add baffles for ventilation
- Lay insulation evenly
- Don’t compress it
Costs vary by material and labor. Expect to pay:
- Fiberglass: $1-$1.50 per square foot
- Cellulose: $1.20-$2 per square foot
- Spray foam: $3-$7 per square foot
Professional installation adds $1-$2 per square foot, and a typical attic costs $1,500-$3,500 to insulate.
Energy Cost Savings Over Time
Of course, good attic insulation can cut your energy bills by 15% or more, which equates to about $200-$300 saved each year for many homes.
Let’s say you spend $2,000 on new insulation. With just $250 yearly savings, you’d make your money back in 8 years. After that, it’s all profit for you to spend as you please.
Not only that, but better insulation also makes your home more comfy. You’ll feel fewer drafts and have evener temperatures throughout your homee. This can mean less wear on your HVAC system, saving even more money in the long run.
It’s good to remember that the exact savings depend on your climate, energy prices, and current insulation. For example, warmer areas might see less benefit than colder regions but most homeowners find attic insulation a smart investment.